

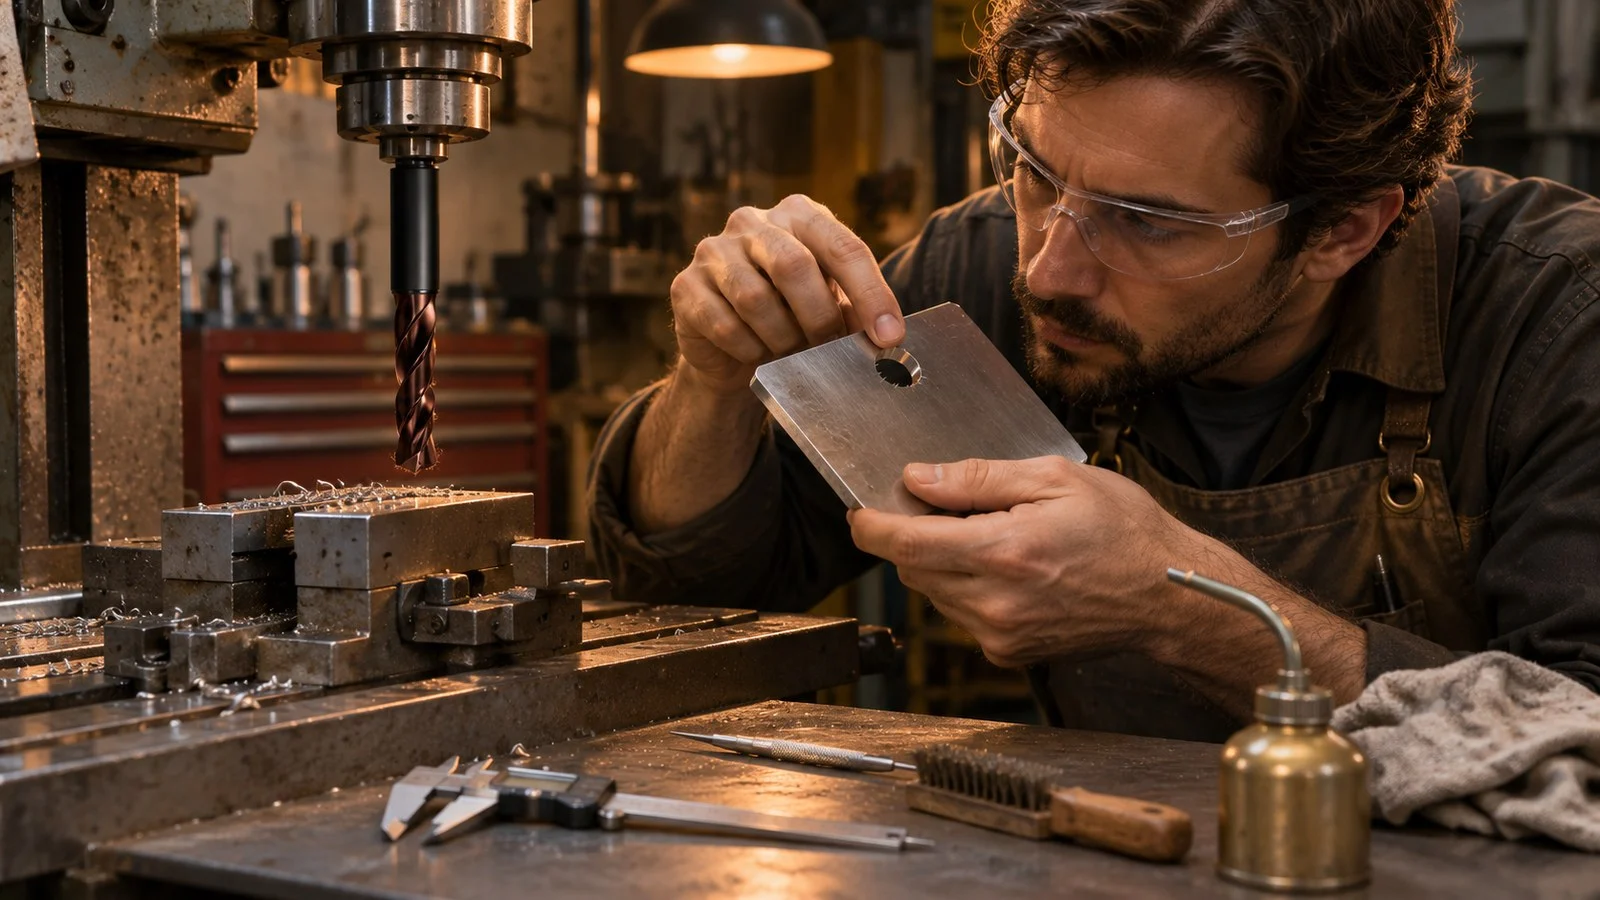
Common drilling burr causes include material deforming at the hole exit, a worn cutting edge, and cutting conditions that need adjustment for the operation. Milling can also leave a raised edge where the cutter exits the workpiece; the useful first step is to identify where the burr forms before changing the setup.
What Causes Drilling Burrs?
A drilling exit burr forms when material at the far edge of a hole deforms as the drill breaks through. A rollover burr bends material over the edge, while a tear burr forms when material tears instead of separating cleanly. The material, drill condition, hole geometry, and cutting conditions all deserve attention during troubleshooting.
The shape and position of the burr give you a starting point. A raised lip around the exit points you toward breakthrough conditions; torn material calls for a closer look at how the edge is cutting. Check the hole entrance as well, so you don’t assume every burr appeared at breakthrough.
Aluminium alloys can present both burr formation and chip evacuation problems. If chips aren’t leaving the hole consistently, inspect the chips and the tool before changing several cutting settings at once.
Why Do Milling Edges Develop Burrs?
Milling burrs can form along the edge where material deforms or tears instead of separating cleanly. Look closely at the point where the cutter leaves the workpiece and at any change in edge geometry. The location can help you decide which part of the cut to examine first.
A milling edge burr and a drilling exit burr may look similar, but their cutting paths differ. For milling, review the cutter’s exit from the edge as well as the cutting edge itself. A toolpath change may be worth testing when the burr is concentrated at one exit, but its effect needs checking on the actual part.
Check the Tool and Cutting Conditions
Start with the condition of the drill or milling edge. A worn edge is one possible cause of a large drilling exit burr, though replacing a tool won’t resolve every burr. Compare the edge and insert condition with the tool manufacturer’s replacement guidance.
Then check the settings against the tool manufacturer’s recommendations for the material and operation:
- Cutting speed and feed: Compare the programmed values with the recommended range. Change one setting at a time and inspect the resulting edge.
- Coolant: Check that coolant reaches the cut and that the delivery matches the tool’s guidance. Insufficient cooling is one possible cause of a large exit burr in some drilling systems.
- Chip evacuation: Watch for inconsistent chip removal, particularly when drilling aluminium alloys. Examine the chips and hole before deciding which adjustment to test.
- Geometry: Record whether the burr appears around the hole exit, along a milled edge, or at a specific cutter exit. Use that location to choose the next test.
High cutting values can contribute to a large exit burr in a particular drilling system, but reducing a setting isn’t a universal cure. Feed, speed, and coolant changes need to be evaluated together with the tool, material, and hole geometry.
Choose a Drill for the Operation
Match the drill and its recommended cutting conditions to the workpiece and hole. If you’re selecting tooling for a drilling operation, our 3D drill bits are a product option to review alongside the requirements of the job.
For milling, cutter geometry also matters. A high-rake chamfer mill, for example, is designed to reduce cutting resistance and minimize burr formation. That doesn’t mean every high-rake tool will give the same result on every material or edge.
When Is Separate Deburring Needed?
A separate deburring step may be needed when a raised or torn edge remains after you’ve checked the tool and cutting conditions. Decide whether the remaining burr is acceptable against the part’s edge requirements, then inspect the edge after deburring.
Before changing the production process, compare a small set of parts made under controlled conditions. Mark the burr location, record the tool condition and settings, and change one variable per trial. Check both the burr and the finished edge before adopting the adjustment.
FAQ
Why Is There a Burr at Hole Exit?
Material can deform at breakthrough and fold over the hole edge instead of separating cleanly. Tool condition and cutting conditions are among the factors to check.
Can Milling Leave Burrs on Edges?
Yes. Milling can leave raised or torn material along a workpiece edge, including where the cutter exits the part.
Will a New Drill Eliminate Burrs?
A new drill may help if the existing cutting edge is worn, but it won’t guarantee a burr-free hole. Check the material, geometry, and recommended cutting conditions too.