

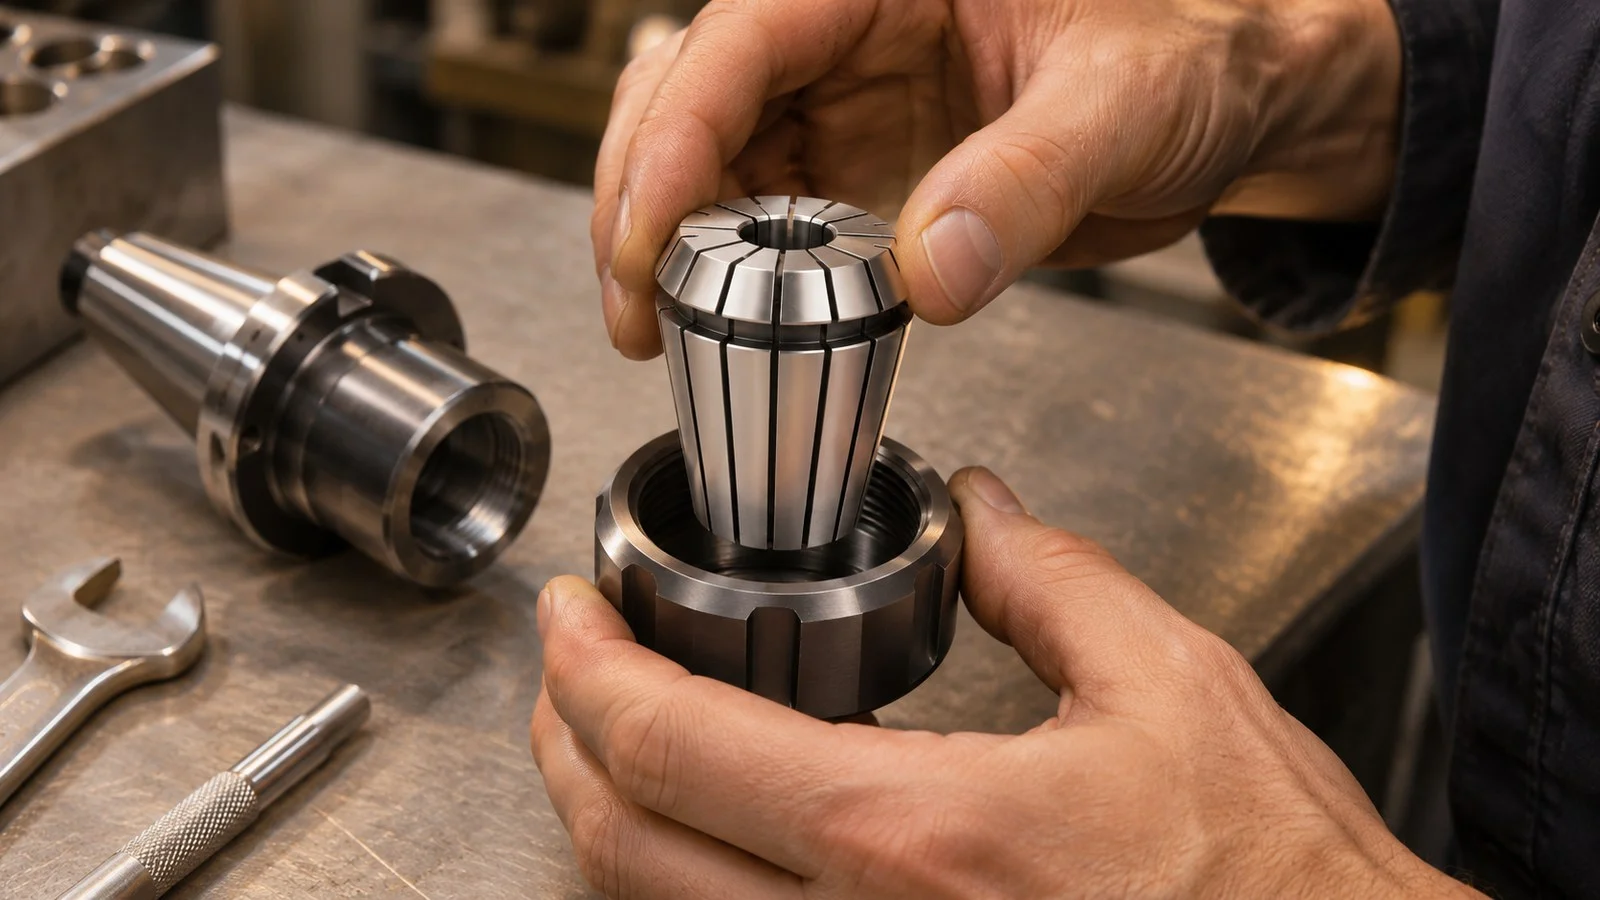
For ER collet installation, engage the collet in a compatible nut before attaching the assembly to the holder. Manufacturers differ on when to insert the cutting tool, so follow the instructions for your system and tighten the nut to the toolholder maker’s specified torque.
How to Install an ER Collet
- Isolate the machine according to the toolholder maker’s safe procedure.
- Check that the collet, nut and tool shank are compatible.
- Clean the collet and holder’s mating surfaces.
- Engage the collet’s groove in the nut’s retention ring.
- Attach the assembly, insert the tool in the prescribed order, and tighten to the specified torque.
Before you start, check the collet and nut for damage. Don’t try to expand a collet by forcing in a shank larger than its nominal diameter.
Seat the Collet in the Nut
Hold the collet at an angle to the nut and place its groove against the nut’s internal retention feature. Rock or press the collet into place until it engages. The retention feature can look off-center inside the nut; that shape is part of how it holds the collet.
Check that the collet is securely engaged before threading the nut onto the holder. Insert the collet into the nut without the cutting tool in place: a tool already in the bore can prevent the collet from compressing enough to engage.
Insert the Tool and Tighten
The cutting tool’s insertion order depends on the assembly instructions for your holder. One manufacturer specifies inserting the tool after the collet engages in the nut, then attaching the assembly to the holder. Another specifies threading the nut and collet onto the holder first, then inserting the tool.
Use the order specified for your system. Tighten the nut with the toolholder maker’s specified torque and follow its instructions for securing the holder. For readers selecting components for a machining setup, check compatibility against the equipment instructions before assembly.
How to Remove an ER Collet
- Isolate the machine using the toolholder maker’s safe procedure.
- Loosen and unscrew the nut from the holder, following the system instructions for removing the cutting tool.
- With the nut off the holder, press on the face of the collet while pushing sideways on its back to disengage it from the nut.
The release direction can depend on the nut’s design. If the collet doesn’t disengage, check the maker’s instructions before applying more force.
Check the Collet Before Reassembly
Wipe dust from the collet and holder’s mating surfaces when changing tools. Debris between the collet and taper can affect accuracy, so inspect those surfaces before putting the assembly back together.
If the collet won’t seat in the nut, check both components for compatibility and damage. Don’t tighten the nut onto the holder with the collet improperly seated.
FAQ
Does the Collet Go Into the Nut First?
Yes. Engage the collet securely in the compatible nut before attaching the assembly to the holder.
Can You Insert the Cutting Tool First?
Seat the empty collet in the nut before inserting the cutting tool. Then follow your system’s instructions for whether to insert the tool before or after threading the assembly onto the holder.
Why Does the Collet Nut Look Off-Center?
The internal retention feature can appear off-center because it engages the collet’s groove. Check that the collet is seated in that feature before attaching the nut to the holder.