

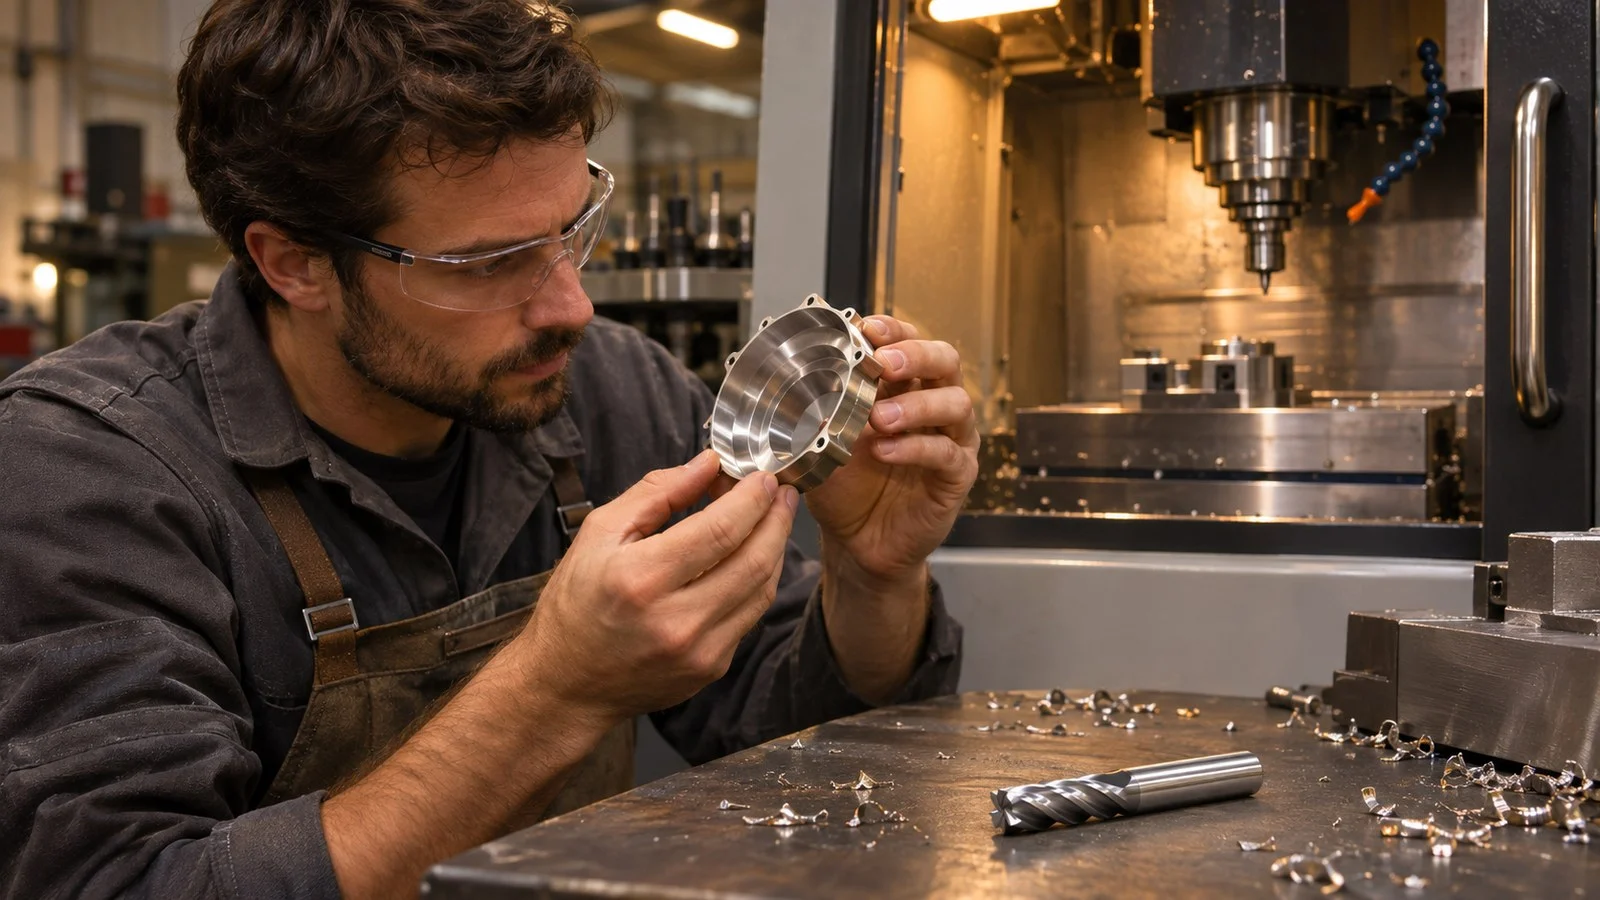
Thin wall machining techniques work best when you preserve workpiece support as material is removed and adjust the cut as the wall becomes more flexible. A stepped approach can help when the geometry allows access to both sides; the actual sequence and cutting parameters must suit the part, fixture, material, and tool.
How to Mill a Thin Wall
Plan the wall as a changing structure. Leave supporting stock where the geometry permits, machine in manageable axial steps, and adjust radial engagement as support disappears. Plan access to each side before cutting, and inspect the wall against the drawing using a method suited to its geometry.
Tool Deflection vs Wall Deflection
A milling cutter can bend under load, and a thin workpiece wall can also move under load. Both can affect the relationship between the programmed toolpath and the finished surface, but they call for different checks.
Long tooling can be susceptible to deflection, chatter, and breakage. Choose a tool that reaches the required features without unnecessary length. Then consider how the wall will be supported at each stage: a shorter tool alone doesn’t address a flexible workpiece.
Preserve Support During Stock Removal
A wall has more support while surrounding material remains. As you remove that material and expose more wall height, the remaining section can become less stable. Plan the cuts around that change rather than treating every pass as if the workpiece had the same support.
Stepped axial passes are one option. Instead of exposing the full wall height at once, machine a manageable depth while leaving material behind the area being cut. Where access and geometry permit, work the sides at each stage before continuing deeper.
This approach depends on the part. A wall with restricted access or uneven geometry may need a different sequence. Use the drawing and the available fixture to decide where support can remain and when it must be removed.
Adjust Axial and Radial Cuts
Axial depth of cut is the length of the cutter engaged along its centerline. Radial depth of cut is the distance the cutter steps into the workpiece across its width.
As the wall grows taller and supporting stock disappears, consider reducing radial engagement to limit cutting pressure. The useful axial step and radial cut depend on the material, tool, fixture, and final wall dimensions. A smaller cut isn’t a substitute for a stable setup, and there’s no fixed pass count that suits every wall.
When selecting a cutter, compare the tool’s specifications with the part and operation. Our Flat Endmill HRC50 is one product page to review alongside the cutting requirements for your job.
Plan Fixturing and Access to Both Sides
The fixture needs to hold the part securely while allowing the cutter to reach the wall. Consider how much support remains under and around the workpiece as stock is removed. Clamping pressure also matters: a thin section needs to be held without crushing or distorting it.
Before machining, check that the planned fixture permits access to the surfaces you need to cut and inspect. If the wall can be approached from both sides, plan those cuts together with the supporting stock. If access is limited, account for that constraint when deciding the sequence.
Inspect the Wall Against the Drawing
Plan inspection before the final cuts, while considering which surfaces and dimensions the drawing requires you to check. Choose a measurement method that can reach the wall without imposing enough force to distort the reading.
If you need to check the wall or fixture at the machine, stop and secure the equipment first. Compare the measurements with the drawing before deciding whether another pass is appropriate.
FAQ
What Causes Thin Wall Milling Problems?
A thin wall can become less stable as surrounding stock is removed. Cutter deflection can also affect the cut, particularly with long tooling.
Should You Machine Both Wall Sides?
Plan both sides together when the geometry and fixture allow access. The order of cuts should reflect where support remains and what the drawing requires.
How Many Passes Does a Thin Wall Need?
The pass count depends on the application, material hardness, and final wall dimensions. Set it for the actual part, fixture, and tool rather than using a fixed number.