

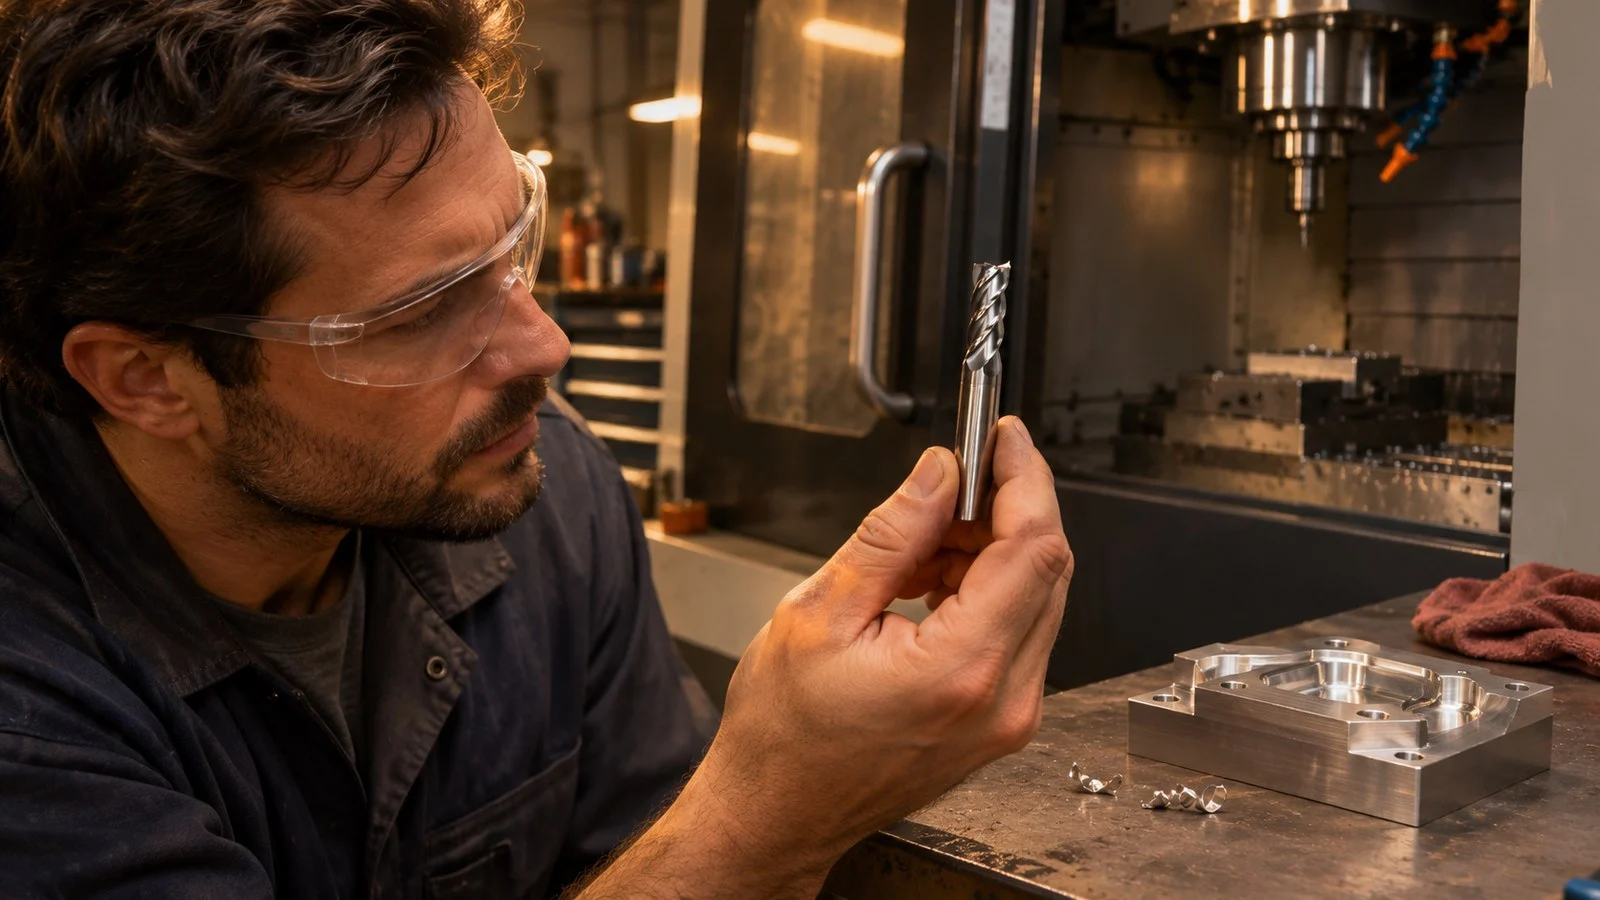
The main end mill corner chipping causes are excessive cutting engagement or feed, instability in the tool or workpiece setup, and chips being recut. Start by checking when the damage appears: chipping at initial entry calls for a close look at the first cut, while damage during continued cutting also warrants checking engagement, rigidity, runout, and chip evacuation.
What Causes End Mill Corner Chipping?
End mill corner chipping occurs when small pieces fracture from the corner or cutting edge. Possible causes include an aggressive entry or cut, insufficient tool or workpiece rigidity, runout, and chip recutting. The damaged corner alone doesn’t identify which condition caused it, so check the cutting operation and setup together.
Chipping is localized fracture. Progressive flank wear develops along the tool’s flank, while full tool breakage involves a larger fracture of the cutter. A chipped corner doesn’t by itself tell you whether the tool will break or which adjustment will solve the problem.
Check Cutting Engagement and Entry
If the corner chips as the cutter first enters the workpiece, review the feed on that initial cut. An entry that is too aggressive can contribute to chipping even if the rest of the operation appears acceptable.
Also check the feed during continued cutting and the axial and radial depths of cut. If the cut is too aggressive for the setup, reducing feed or engagement is a possible adjustment. Change one condition at a time where practical, so you can judge its effect.
Check Toolholding, Seating, and Rigidity
Shut down and secure the machine before handling or inspecting the cutter. Check that the tool and holder are properly seated and secure, following the machine and tool manufacturers’ instructions. Loose holding or inadequate rigidity can contribute to edge chipping.
Review how much of the tool extends from the holder. A shorter end mill or holding the shank deeper may improve the setup when the holder and tool specifications allow it. Check the workpiece fixture as well: a securely held cutter can’t compensate for a workpiece that moves during the cut.
Check spindle runout as part of the setup inspection. The appropriate inspection method and acceptable condition depend on the equipment and tooling; follow their manufacturers’ instructions.
Check Chips and Tool Selection
Chips left in the cutting area can be cut again and contribute to chipping. Check whether chips are clearing the operation, especially where the tool is engaged in the workpiece. Adjust the setup as appropriate to improve evacuation.
Consider whether the cutter and cutting conditions suit the workpiece and operation. A sharp corner is one possible contributor to chipping. A corner radius or chamfer may help in some applications, but use one only when the required part geometry and tool specification allow it.
When reviewing tooling for machining, check the actual tool specification against the workpiece and the features the part requires. Use the machine and cutting tool manufacturers’ instructions to select and adjust cutting conditions.
Make One Check at a Time
Record whether chipping appears at entry or later in the cut, then inspect the toolholding and fixture before changing the program. If the setup is secure, review entry feed, ongoing feed, engagement, and chip evacuation. Make an appropriate adjustment and inspect the result before changing another condition.
FAQ
Can Feed Rate Cause Corner Chipping?
Yes. Feed that is too aggressive during entry or continued cutting can contribute to corner chipping. Check the feed alongside engagement and setup rigidity.
Does a Corner Radius Prevent Chipping?
A corner radius may help in some applications, but it doesn’t guarantee that chipping will stop. The radius must be suitable for the required part geometry and the tool specification.
Is Corner Chipping the Same as Flank Wear?
No. Corner chipping is localized fracture of the corner or cutting edge; flank wear develops progressively along the tool’s flank. Inspect the damaged area and the cutting conditions before deciding what to change.