

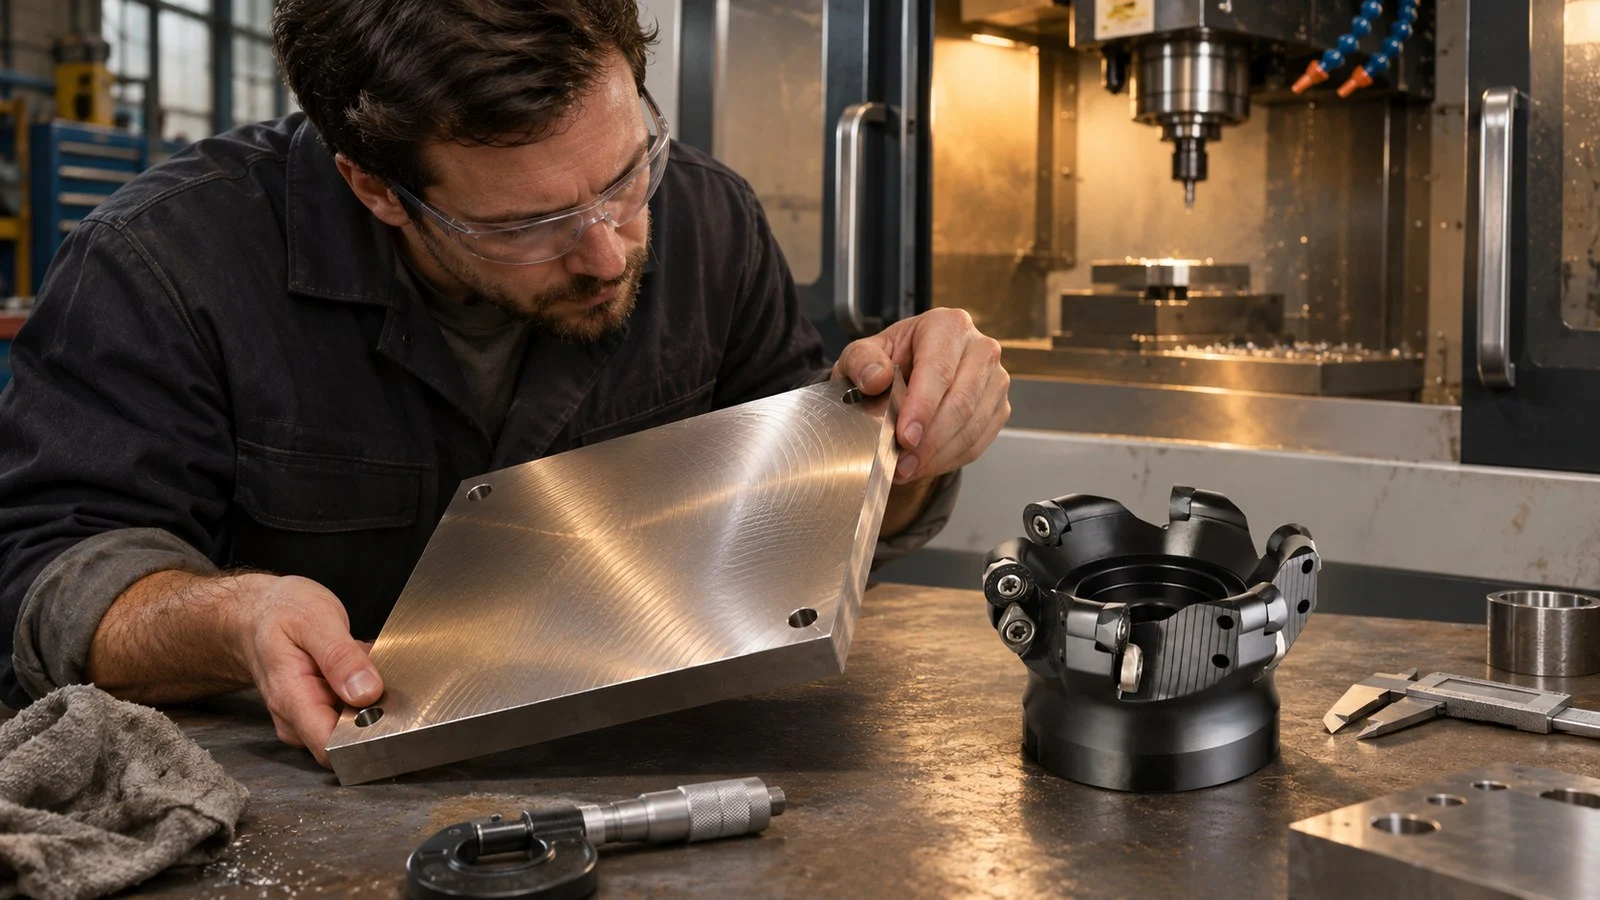
Face milling surface finish problems often call for a check of insert condition, cutting-edge height and setup stability before you change cutting parameters. Start with the cutter and its mounting; if the finish changes with workpiece support or cutter position, examine those conditions too.
What Causes Poor Face Milling Surface Finish?
Poor face milling surface finish can result from uneven insert cutting-edge heights, worn or contaminated edges, vibration, or rubbing in an unsuitable cutter position. A mark on the surface is a clue, not proof of one cause. Check the cutter and setup in a consistent order, then compare the resulting finish.
| What to Check | What It May Reveal | Next Step |
|---|---|---|
| Insert edges and seats | Damage, adhered material or seating issues | Inspect the edges and seating surfaces |
| Axial edge height | One insert protruding farther than the others | Check insert seating and cutter condition |
| Cutter and workpiece support | Conditions that allow vibration | Check clamping, tool length and support |
| Cutter position | Rubbing in a particular pass | Review the cutter path and engagement |
| Machine condition | Persistent vibration across setups | Investigate the spindle and feed mechanisms |
Check Insert Height and Seating
A face mill carries several inserts, and their cutting edges may not all sit at exactly the same axial height. If one edge protrudes significantly farther, it can do more work than the others. That height difference can affect surface finish and contribute to vibration.
Inspect the inserts and their seats before attributing the finish to the machine. Look for material on the seating surfaces, damaged edges or an insert that doesn’t sit consistently with the others. Follow the cutter maker’s instructions when cleaning, seating or replacing inserts.
Axial edge-height variation is different from radial spindle runout and from machine alignment. A surface pattern alone can’t tell you which condition is present. If the cutter inspection doesn’t resolve the issue, check those other possibilities separately.
Inspect Edges and Adhered Material
A damaged edge or material stuck to an edge can affect the surface left by a face mill. Examine each insert rather than judging the whole cutter by one edge. If damage is present, address its cause as well as the immediate finish problem.
Workpiece material matters when choosing edge geometry. With soft, malleable non-ferrous materials such as aluminium alloys, insufficient edge sharpness can encourage material to adhere to the insert and interfere with the required finish. Choose an insert geometry suited to the material and cutter; don’t assume that a geometry intended for one material will suit another.
A wiper edge can help a suitable finishing cutter produce a smoother surface, but its alignment and the accuracy of the cutter assembly still matter. Use one only where the cutter design supports it.
Check Stability When the Finish Shows Vibration
If vibration accompanies the poor finish, check how the tool and workpiece are supported. Rigid clamping and keeping the tool assembly as short as practical are useful starting points. Support the workpiece so it can resist the cutting forces, and consider whether a different machining direction would put those forces in a more stable direction.
Cutter engagement, entering angle, insert geometry and cutter pitch can also influence vibration. Change one condition at a time so you can see whether it improves the finish. If vibration persists across different setups, machine condition also deserves attention: wear in spindle bearings or feed mechanisms is one possible contributor.
Review Cutter Position and Engagement
Cutter position can affect the finish even when the inserts appear sound. In one face-milling geometry, a cutter with the same diameter as the workpiece width can rub excessively and leave a poorer surface. That doesn’t make a single diameter ratio a rule for every setup; examine the actual cutter path and engagement.
For a different cutter choice, our BRP Face Milling Cutter Head is one listing to consider. Confirm the cutter and insert details needed for your setup before selecting it.
Compare the Finish After Each Change
Use the same surface requirement when comparing results. After checking insert seating, make a pass and inspect the finish; then assess support or cutter position if the problem remains. Keeping the other conditions consistent makes the effect of each change easier to judge.
If you need to review cutter options for face milling surface finish problems, check the milling systems category. For broader machining choices, match the tooling to the material and setup before changing the process.
FAQ
Can Insert Height Affect Surface Finish?
Yes. A protruding insert can carry more of the cut than the other inserts, affecting finish and potentially contributing to vibration. Check axial edge height separately from radial spindle runout.
Will a Wiper Insert Fix Surface Finish?
A wiper can help on a cutter designed for finishing with one. Alignment, cutter accuracy, adhered material and vibration can still affect the result.
Does a Surface Pattern Prove Spindle Runout?
No. Surface marks can have several causes, including insert height variation, rubbing and vibration. Inspect the cutter and setup, then investigate machine condition if the problem persists.