

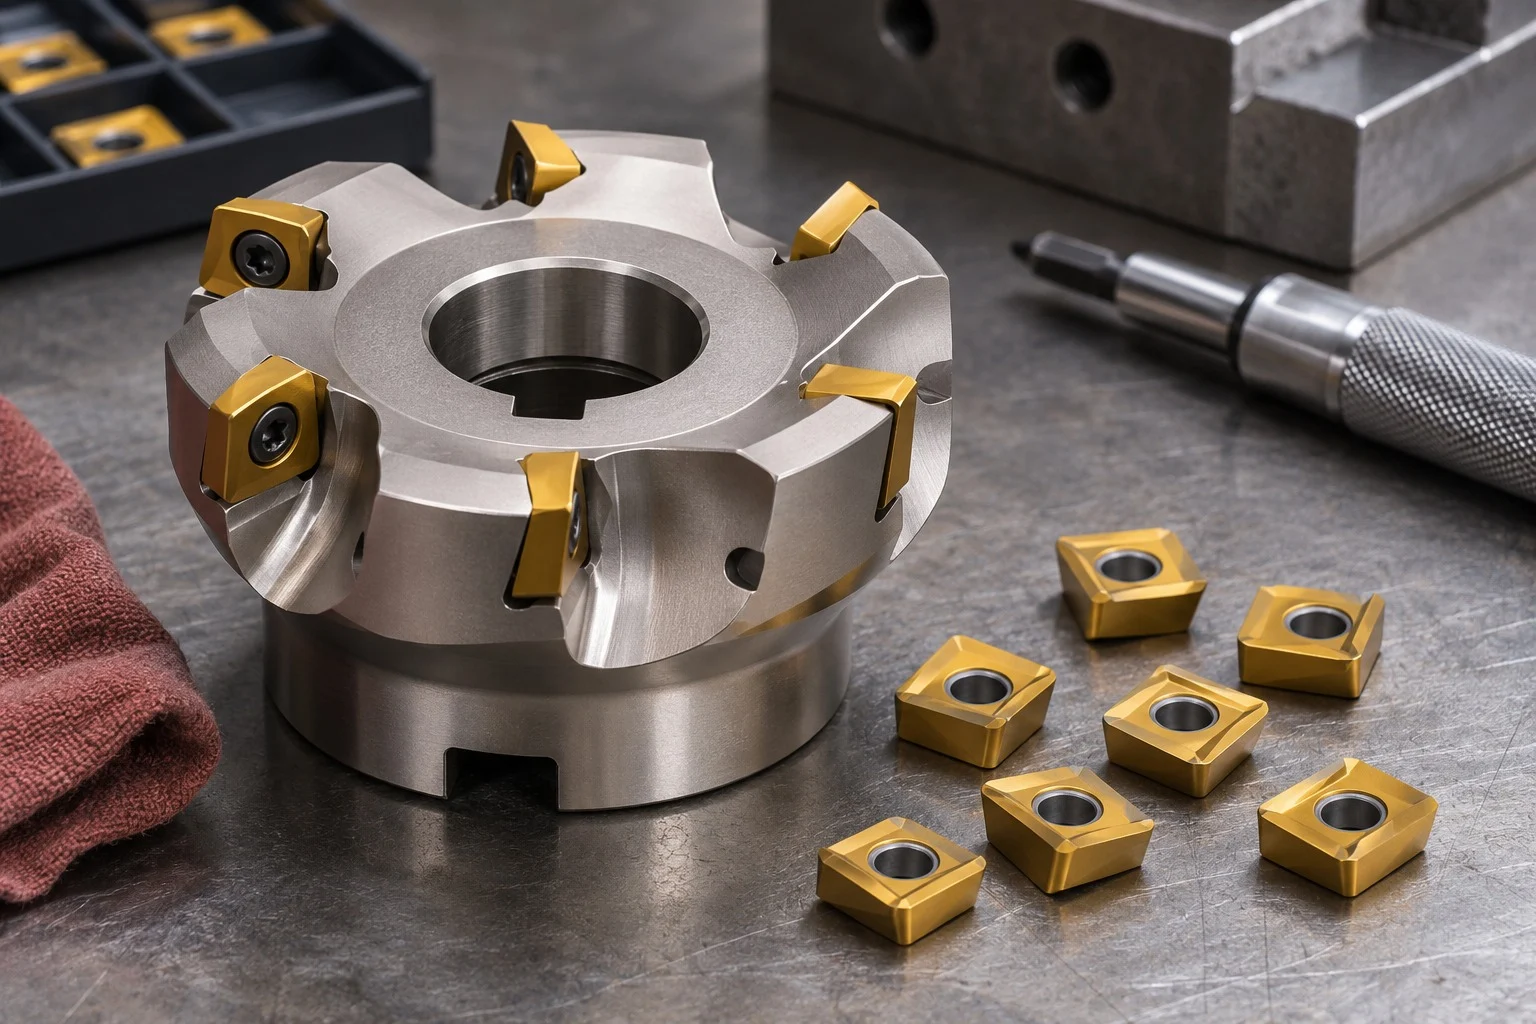
Replacing face mill inserts is a routine maintenance task, but a poor seat or incorrect clamping can cause uneven cutting, surface marks, insert breakage, or damage to the cutter body. A careful process starts with the cutter maker’s instructions and ends with a low-risk check before production resumes. Use the procedure below as a practical checklist, and follow the specific requirements supplied for your cutter and inserts.
Prepare the Cutter and Work Area
Stop the spindle, isolate the machine according to its operating procedure, and wait until the cutter has come to a complete stop. Wear eye protection and cut-resistant gloves when handling sharp edges, while keeping gloves away from moving machinery. If the cutter is still mounted, use the machine’s approved method to secure it before working.
Gather the correct replacement inserts, a suitable driver, and a clean brush or lint-free cloth. Confirm the insert designation and orientation from the cutter documentation. Inserts that look similar can differ in geometry, thickness, corner radius, or seating features. Do not assume that a visually similar insert is compatible. Check the manufacturer’s specifications for the cutter body, insert, and screw.
Clean the cutter before removal so chips and coolant residue do not fall into the pockets. If the cutter is removed from the spindle, secure it on a stable work surface with the cutting edges protected. Never hold a heavy cutter by its inserts.
Remove Inserts Without Damaging the Pocket
Loosen each screw with the correct driver and controlled force. If a screw is seized or damaged, stop and use the maker’s recommended removal method; forcing it can strip the thread or break the screw. Keep removed screws organized and inspect them for wear, deformation, or damaged threads. Replace any questionable fastener with the specified part.
Lift out each insert carefully. Avoid prying against the seating surfaces or striking the insert. A tool slip can nick the pocket or create a burr, and even a small defect may prevent the next insert from sitting flat. Remove packed chips and residue with a non-damaging cleaning method. Do not use abrasives or a file on a precision seat unless the cutter manufacturer specifically permits it.
Inspect the Cutter Seat and Insert
Use good lighting to check each pocket for embedded chips, burrs, cracks, impact marks, corrosion, or uneven wear. Pay close attention to the support faces and locating features that control insert position. A seat that is damaged, raised, or contaminated can make a new insert sit at a different height or angle.
Inspect the replacement insert for shipping damage, chipped edges, or contamination. Compare it with the documented orientation and check that it rests naturally against the locating surfaces. It should not rock or require force to fit. If it does not seat correctly, remove it and recheck the pocket, insert identity, and orientation. Do not grind an insert or modify the cutter body to make parts fit.
When the pocket is damaged or its condition is uncertain, consult the cutter manufacturer or an authorized service provider. Replacing inserts cannot compensate for a cracked cutter body or a pocket that no longer locates the insert reliably.
Install and Check the New Inserts
Place each insert in the specified orientation and install the correct screw. Start the screw by hand to reduce the chance of cross-threading. Tighten it using the manufacturer’s torque value and method; do not substitute a remembered value from another cutter. Over-tightening can damage the screw, thread, or insert, while insufficient clamping can allow movement in the cut.
Check that every insert sits flush against its seat and that no chip is trapped underneath. Confirm the cutting edges are oriented consistently as specified. If the cutter uses a defined tightening sequence or a special washer, follow that instruction. Keep the driver aligned with the screw to avoid damaging its recess.
Before machining, verify the cutter is correctly secured to the machine and that guards are in place. Rotate the spindle by hand only when the machine’s instructions allow it and the machine is in a safe state. Then follow the machine maker’s startup procedure and begin with a cautious trial cut, checking for unusual noise, vibration, or inconsistent surface marks.
FAQ
Can I reuse an insert screw?
Only if the manufacturer allows reuse and the screw passes inspection. Replace damaged, stretched, corroded, or otherwise questionable screws with the specified fastener.
What if one new insert sits higher than the others?
Stop and check for debris, the wrong insert, incorrect orientation, or seat damage. Do not run the cutter until the cause is resolved.
Where can I check Wencerl’s tool range?
Wencerl supplies metal cutting tools. Visit Wencerl to learn about the company and its tooling range.