

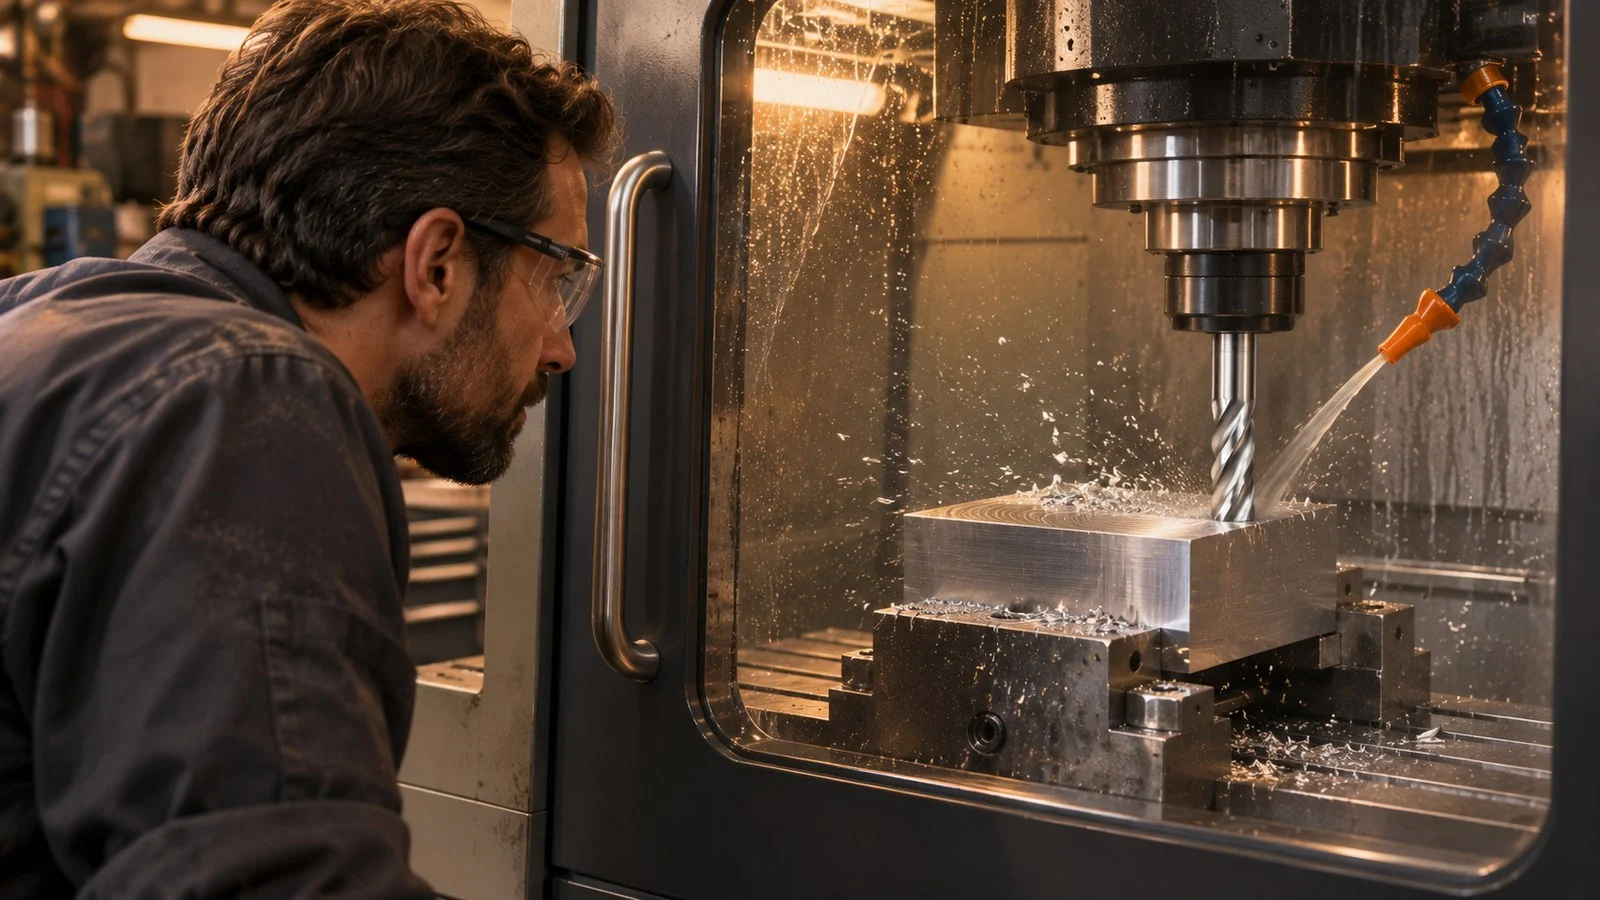
Spring pass machining can help when a finished milled wall remains slightly out of size after the tool and workpiece deflect under cutting pressure. Repeat the finishing path without additional programmed infeed, then measure the result; if the setup is unstable or the cutter is worn, address those problems first.
What Is a Spring Pass?
A spring pass is a repeat of a finishing toolpath with no additional programmed infeed. As cutting pressure falls, the tool or workpiece may spring back enough for the cutter to remove residual material. Zero programmed infeed describes the path, not the amount of material physically removed.
For example, a tool finishing a tall wall can bend under cutting pressure. Repeating the same path may reduce material left behind by that deflection. The outcome depends on the setup, so the part still needs to be measured.
When Should You Repeat a Finish Pass?
Try a spring pass when the first finish pass leaves a measurable error consistent with deflection and the setup is otherwise stable. A tall milled wall is one case where cutting pressure can bend the tool and contribute to taper.
Before adding the pass, check the conditions that affect the first finish cut:
- Setup and clamping: Confirm that the workpiece is held securely.
- Tool stickout: Examine how far the cutter extends from its holder.
- Cutter condition: Check for wear.
- Finish stock: Leave a consistent thickness for the wall-finishing operation so cutting pressure is more even.
- Vibration: Address instability before relying on another pass.
These checks matter because a repeat pass won’t cure a loose setup, a worn cutter or vibration. It also adds cycle time, so keep it only when the measured result justifies it.
How Should You Check the Result?
Measure the relevant features after the first finish pass and again after the repeat. Compare the readings against the part requirements, including measurements at different positions if wall taper is the concern.
A change between readings shows what happened in that setup. It doesn’t guarantee the same dimensional accuracy, flatness or surface finish on another part. If the second pass doesn’t produce a useful change, review the process before adding more passes.
Surface measurements can also tell different stories. In a CERN-hosted study of OFE copper, the spring-pass sample had almost identical Ra and Rz values to the control, while its Rpk was 50% lower. That result applies to the study conditions; it isn’t a predicted improvement for every material or setup.
Do Threading Operations Use Spring Passes?
The answer changes with the threading process. A thread-milling procedure may include a pass without additional infeed, while thread-turning guidance can advise against a final spring pass. Follow the cutter manufacturer’s instructions for the exact operation rather than transferring a milling practice to thread turning.
When reviewing a milling setup, the Flat Endmill HRC50 is available in our product catalog. Select the cutter and cutting procedure for the job, then use part measurements to decide whether a repeat finish path earns its cycle time.
FAQ
Does a Spring Pass Remove Material?
It can. Although the programmed path has no additional infeed, the cutter may remove material left after the tool or workpiece deflected during the first pass.
Does a Spring Pass Improve Surface Finish?
It may change the surface, but an improvement isn’t guaranteed. Measure the surface characteristic that matters for the part under the actual machining conditions.
Is a Spring Pass Needed for Thread Turning?
Don’t assume it is. Follow the insert manufacturer’s thread-turning guidance; a procedure for thread milling doesn’t automatically apply to thread turning.