

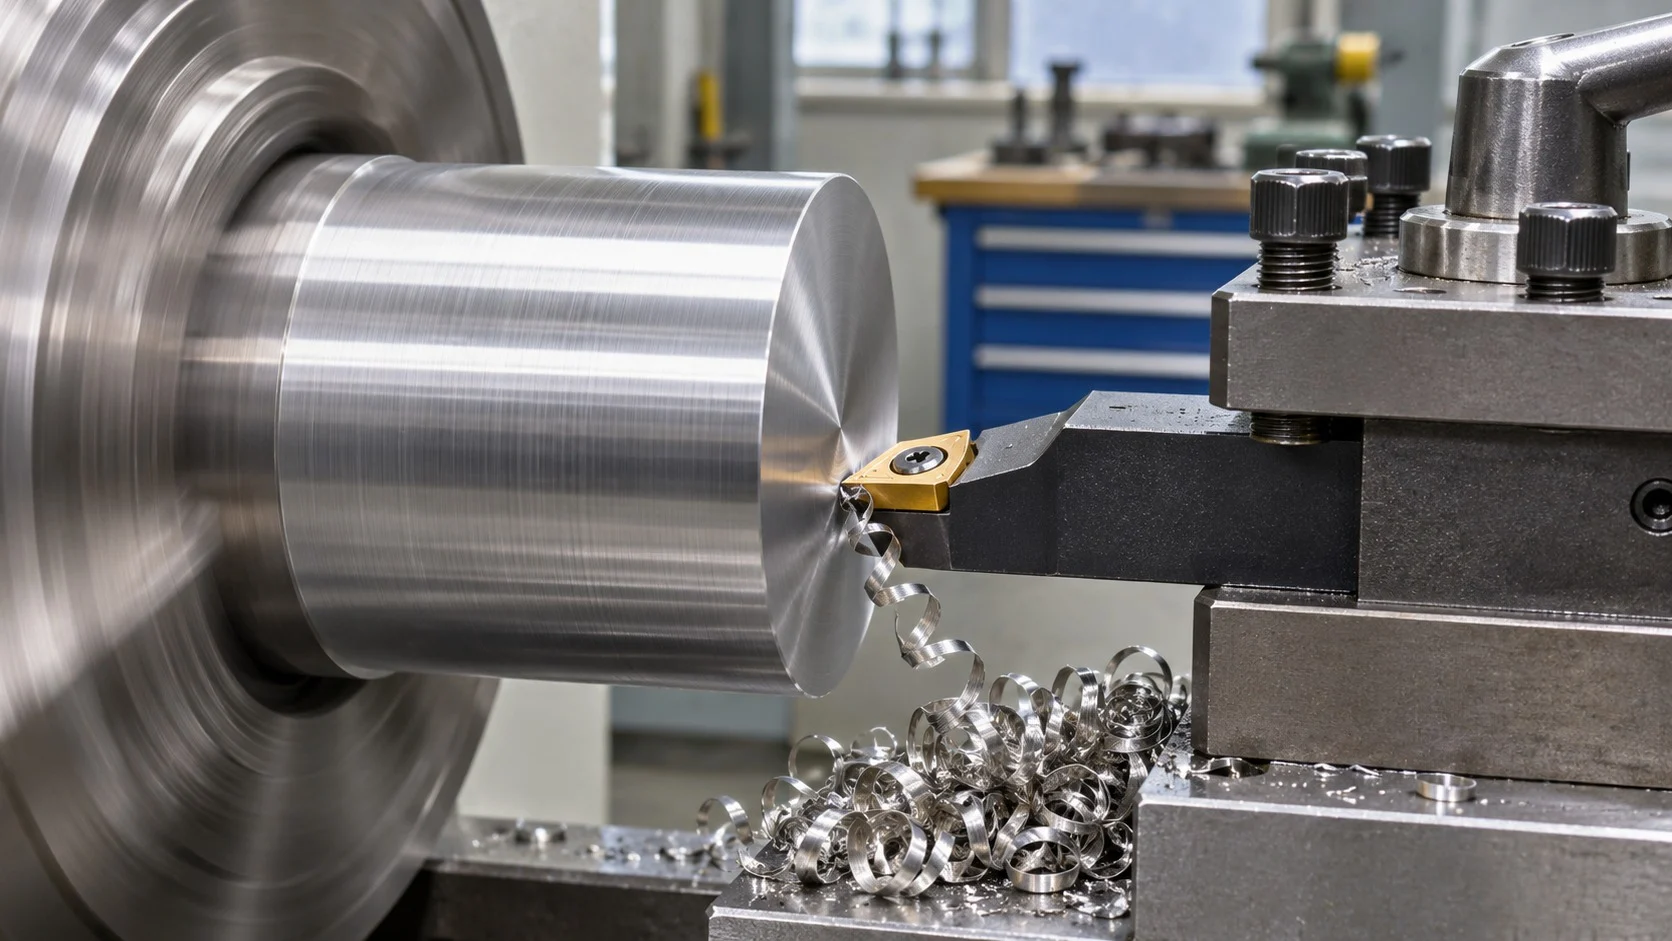
If long chips appear on a finishing pass, compare the actual feed per revolution and depth of cut against the chipbreaker map for the insert geometry. Check both values together. Light feed can produce stringers, while shallow depth can reduce chip control, as described in Sandvik’s turning troubleshooting guidance.
Long chips can wrap around the workpiece or tool, mark the surface and interfere with evacuation. Diagnose them through the machine window with doors and guards closed.
Why Finishing Passes Can Produce Long Chips
A cutting edge removes material as a chip. If the chip flows without curling sufficiently to break, it can leave the cutting zone as a continuous ribbon. Material condition, tool geometry and cutting conditions influence this behavior.
A finishing pass may use a lighter feed and shallower depth than roughing. Those conditions can fall outside the geometry’s intended chip-control range, even when an earlier, heavier cut produced manageable chips. A thin chip may fail to engage the breaker effectively.
The geometry must suit the actual cut. Insert shape alone does not establish whether a chipbreaker will work at the required finishing conditions.
Check the Tool and Actual Cutting Conditions
Before changing settings, confirm the material and exact insert grade and geometry. Verify the programmed units and the actual feed per revolution and depth of cut on the troublesome pass.
Inspect the edge for wear, chipping or built-up material. Check the insert seat, holder condition, overhang and workholding. For slender parts, assess support and rigidity before increasing cutting demands. Correct an unstable setup before interpreting a cutting trial.
Check coolant delivery and the evacuation path as well. Treat these checks as part of the diagnosis alongside geometry and cutting conditions.
Make One Controlled Change
If the setup and edge are sound, choose an adjustment within the geometry’s documented application range. When feed is too low for the breaker, a controlled feed increase may help. When depth is too shallow, assess whether the remaining stock and part specification allow a deeper cut.
Change one variable at a time. Increasing feed or depth involves surface-finish and load tradeoffs. Keep the trial within the limits of the insert, machine, workholding and part requirements, then inspect the result before making another adjustment.
If the required finishing conditions fall outside the current geometry’s range, evaluate a geometry intended for that lighter cut. You can review insert options in our turning insert catalog at Wencerl. Confirm the specific geometry’s application data when selecting an insert.
Verify the Result and Remove Chips Safely
After each trial, inspect chip form, surface finish, dimensions, insert condition and machine load. Accept the change when cutting remains stable and the part meets specification. Record the material, insert geometry, feed per revolution, depth of cut and observed result so the conditions can be repeated.
Keep doors and guards closed during machining. Never reach toward rotating parts or pull chips away by hand. Stop the machine and follow shop lockout and chip-removal procedures before clearing an entanglement.
Follow the machine builder’s removal procedure and use appropriate protection when handling stationary chips, which can have sharp edges. Stop and investigate unusual noise, vibration or tool damage before continuing.
FAQ
Does Increasing Feed Always Break Stringy Chips?
A feed increase may help when feed is too low for the selected geometry. Its usefulness also depends on depth of cut, material and the geometry’s application range. Check finish and machine load during the trial.
Can Coolant Solve Chip-Control Problems?
Chip control depends on geometry and cutting conditions as well as coolant delivery. Check delivery and evacuation alongside the feed/depth diagnosis, following the recommendations for the operation.
Is It Safe to Remove a Chip While the Lathe Is Running?
Keep hands and tools away from rotating parts. Stop the machine and follow the shop’s approved isolation and chip-removal procedure before clearing chips.